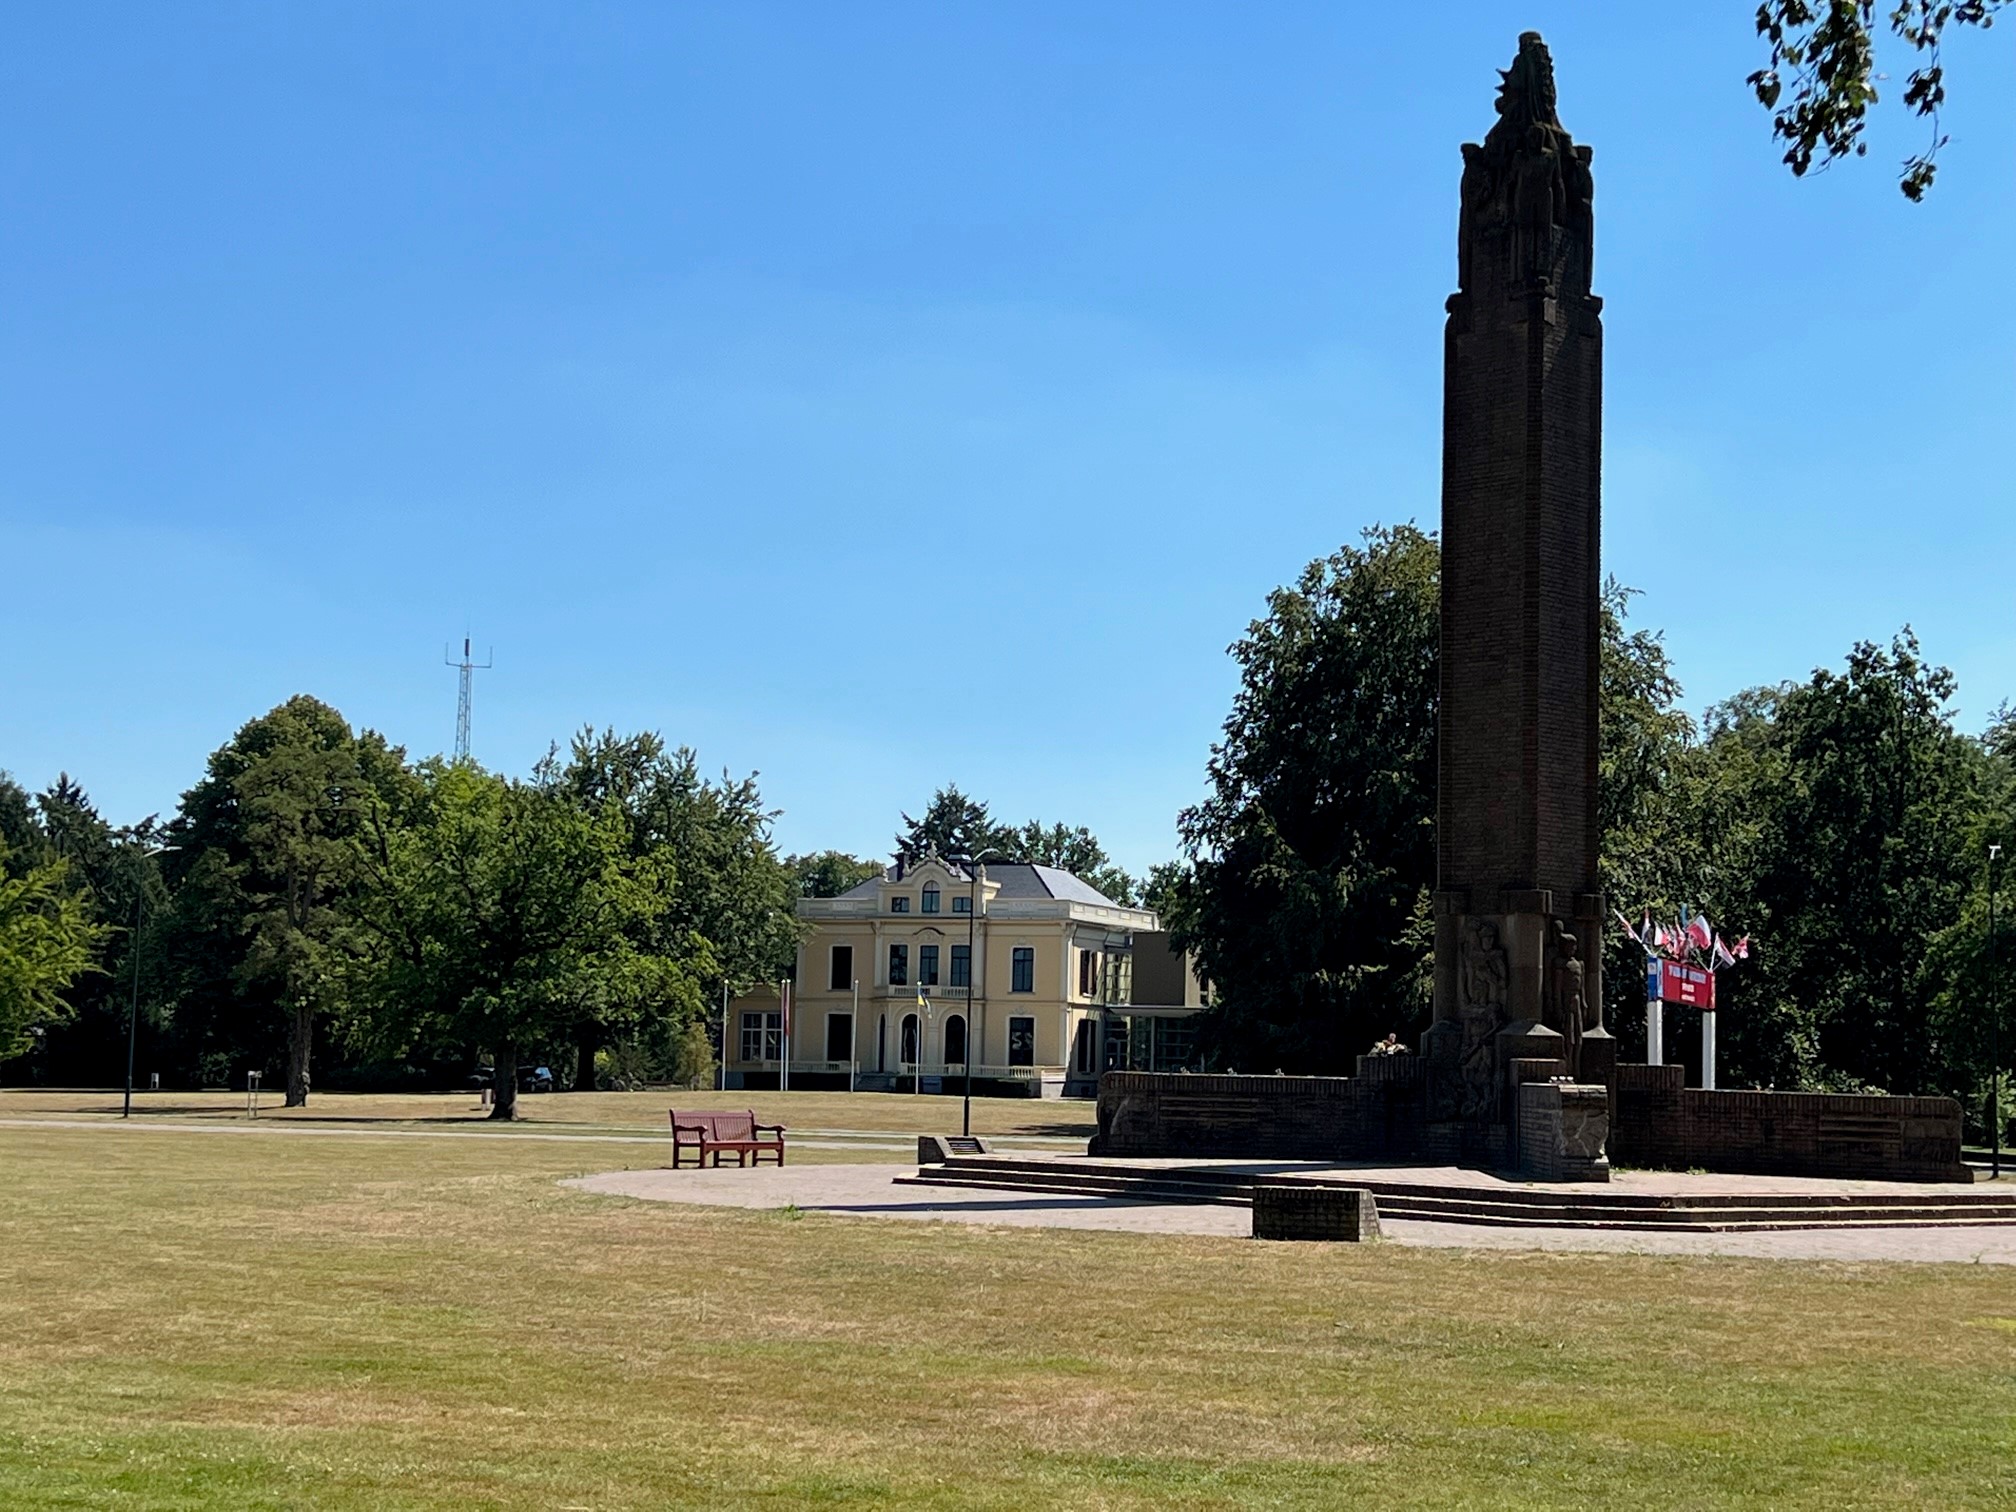
So pleased to be back in the Arnhem area. Here for a couple of weeks so plenty of days to explore the Battlefields. The weather is hot and today I am with Luuk Buist of Airborne Battlefield Tours. I am also looking for details of the brother of an ex-Head-Boy pupil of Durlston Court School, who was killed in the Battle for Arnhem. Today we would be concentrating on the 1st Airlanding Reconnaissance Squadron and how they planned and executed their operations during the events in September 1944.

We started on the landing zones for the Recce units. Some of the gliders overshot the landing zone and ended up in the trees, making it difficult to unload the jeeps. Luuk, our guide was able to show the total number of men, gliders, jeeps and which jeeps had which men allocated to for the Recce squadron. He also explained how they were split into troops. The men either arrived within Horsa Gliders and their jeeps or parachuted in on the adjacent drop zone.

Commanding officers were getting mixed messages ranging from most of the jeeps did not arrive, to many being damaged on arrival. The truth was that nearly all the jeeps and men arrived although some were delayed due to overshooting the landing zone. Most of these were A Troop, who were in reserve, so should not have caused a major delay.

We travelled onto the rendezvous points and was able to get the sense of all these high gunned Recce jeeps sitting on the road ready to leave on the 17th of September 1944. They were to travel to Wolfheze Station, around 2 miles from the rendezvous point and then follow the northern route into Arnhem and reach the bridge. We were able to follow this route hugging the northern side of the railway line. Recce jeeps would stop and start with a leapfrogging approach ensuring each provided cover for the other. As they reached a small culvert, the lead Jeep started to climb the high ground, obscured by some high trees the remaining jeeps could hear machine gun fire. They had run into Kraft’s blocking line. The Germans had an MG42 positioned on the high ground and all of the occupants of the lead jeep were killed. For the next few hours, the Recce troops dismounted and tried to probe the German lines. This had stopped their advance in its tracks and major Gough, left the area to find Major General Urquhart. This would take Gough on a journey all the way to the Bridge using the southern route.

We then visited Oosterbeek and followed the middle route down the high street and towards Arnhem. (Due to the blocking of the north route, Recce decided to travel the middle route) Oosterbeek is a lovely small urban town and Luuk was able to point out each action of the Recce Squadron with use of photographs taken at the time and standing by the buildings shown in the photographs. Only by standing in these areas do you get the true feeling of how close and urban this fighting was.

Luuk also explained the German response and we visited areas of the town with the aid of photographs showing the German tanks and troops in position. Also showing the taking of prisoners and their use of captured jeeps and guns. You could not believe this had taken place in such a peaceful and wonderful place.

Overall, the Recce Squadron were stopped from carrying out their original plans and objectives, which was to get to the bridge, then move out in all directions to provide information on enemy positions. They became defensive and fought bravely holding the line and perimeter. They lost 29 men during the battle and 140 were taken prisoner. Only 75 managed to escape back to the UK.

